
Adding different images to System forms (Green STUBS)
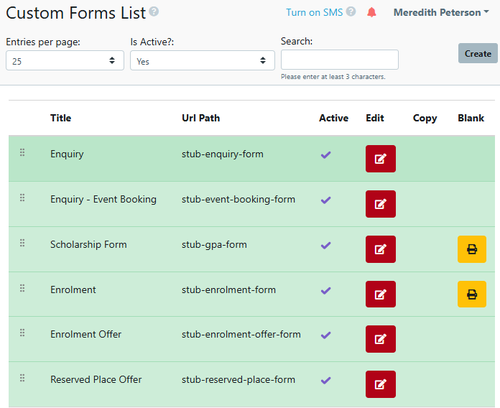
You can update the header images for your System forms by going to the Green STUBS in Custom Forms.
Select any of the Green Stubs:
Each of these have the option to add an additional Logo or image based on various campuses:
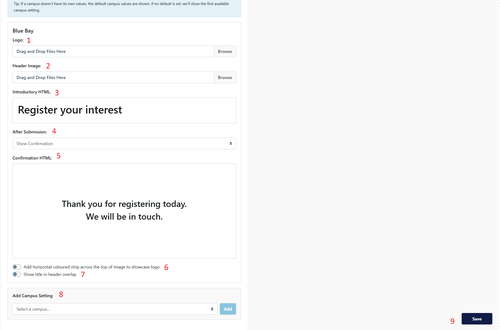
- Logo can be added here Note: if left blank the logo in Settings > Look and Feel will automatically be displayed
- Header image can be added here (Recommended sizing is 1920 x 288px or 1600 x 288px) Note: if left blank the image in Settings > Look and Feel will automatically be displayed
- Introductory HTML: Information displayed
- After Submission: there are 4 Options, Show Confirmation, Redirect to Parent Dashboard, Redirect to URL, Redirect to Next Custom Form
- Add Campus Setting: select the alternate campus (only necessary if a multi campus school)
Adding images to Custom forms
You can update the header images for your System forms by going to Custom Forms.
Select any of the Specific Custom Form.
Go to Custom Form Settings in this article Creating Custom Forms
Adding Introductory/Confirmation HTML Text
You can updated the Introductory and Confirmation HTML by going inside each mandatory green stub
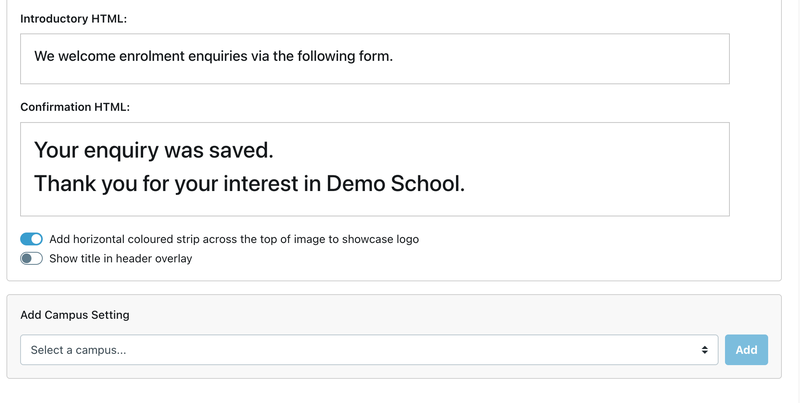
You can add horizontal coloured strip across the top of the image to showcase the logo. - this toggle is switched off by default.
You can show he form title in the header overlay - this toggle is switched off by default.